Obviously, our children are interested in all things Christmas right now....so we have been doing more "crafts". While an end product is suggestive, we always allow our children to lead the way and follow the path of play/creativity that they choose. There is no right or wrong way, and its still all about the process.
We have incorporated fill-able ornaments into our play for a few years now, but one of our readers (Alicia Odom) inspired this activity when she commented on our page saying they had glued gems to their ornaments. Cool! Its a lot like our GLASS SCULPTURES post and our GLASS PUMPKIN post, but we had yet to glue anything to the outside of the ornaments. So............
MATERIALS:
large acrylic fill-able ornaments
gems
hot glue gun
 |
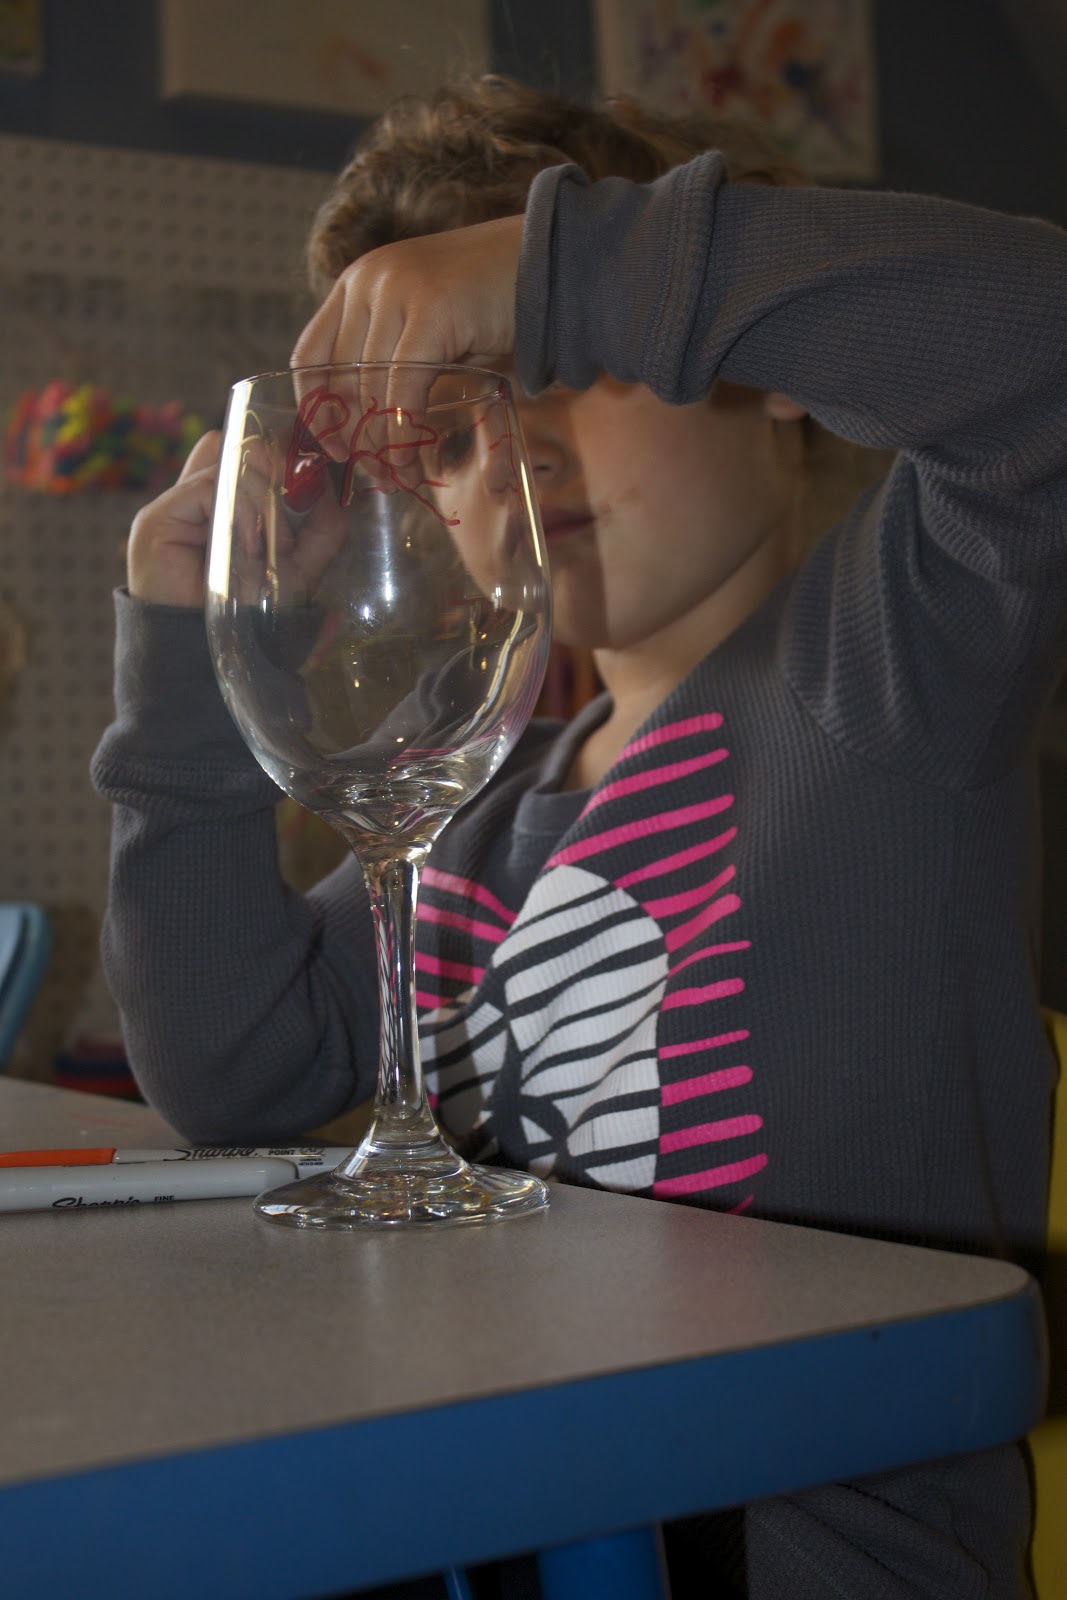
| The invitation |

 |
| Gluing on the gems |
I had to stop taking pics here because my son said, "Mommy, I'm feeling nervous because last time I used the glue gun I burned my finger and had a blister. Can you help me, please?" So he squirt the glue and showed me where to place the gems.
 |
| First he wanted to hang the ornament without the light in it. |
 |
| We added a finger light and he put it on his shelf |
 |
| Then he decided to hang it from his shelf and that is where is stayed until bed time. He moved it at bed time because he hates any amount of light in his room while he sleeping. |
TIPS:
The ornaments get very heavy once you add the gems. If you plan to hang it, you will need to hot glue gun the top on. If you add a finger light, you will need to replace it once it burns out. We found that it was easy to remove the glued on top, replace the light, and glue the top back on again. If you plan to place it on a shelf or table, there is no need to glue the top on.
ENJOY
- AK (MESE, MECD)
- AK (MESE, MECD)


_edited-1.jpg)
_edited-1.jpg)
_edited-1.jpg)
_edited-1.jpg)
_edited-1.jpg)
_edited-1.jpg)


_edited-1.jpg)
_edited-1.jpg)
_edited-1.jpg)
_edited-1.jpg)