Showing posts with label Cardboard Boxes. Show all posts

Monday, July 30, 2012

Peek-A-Boo Box

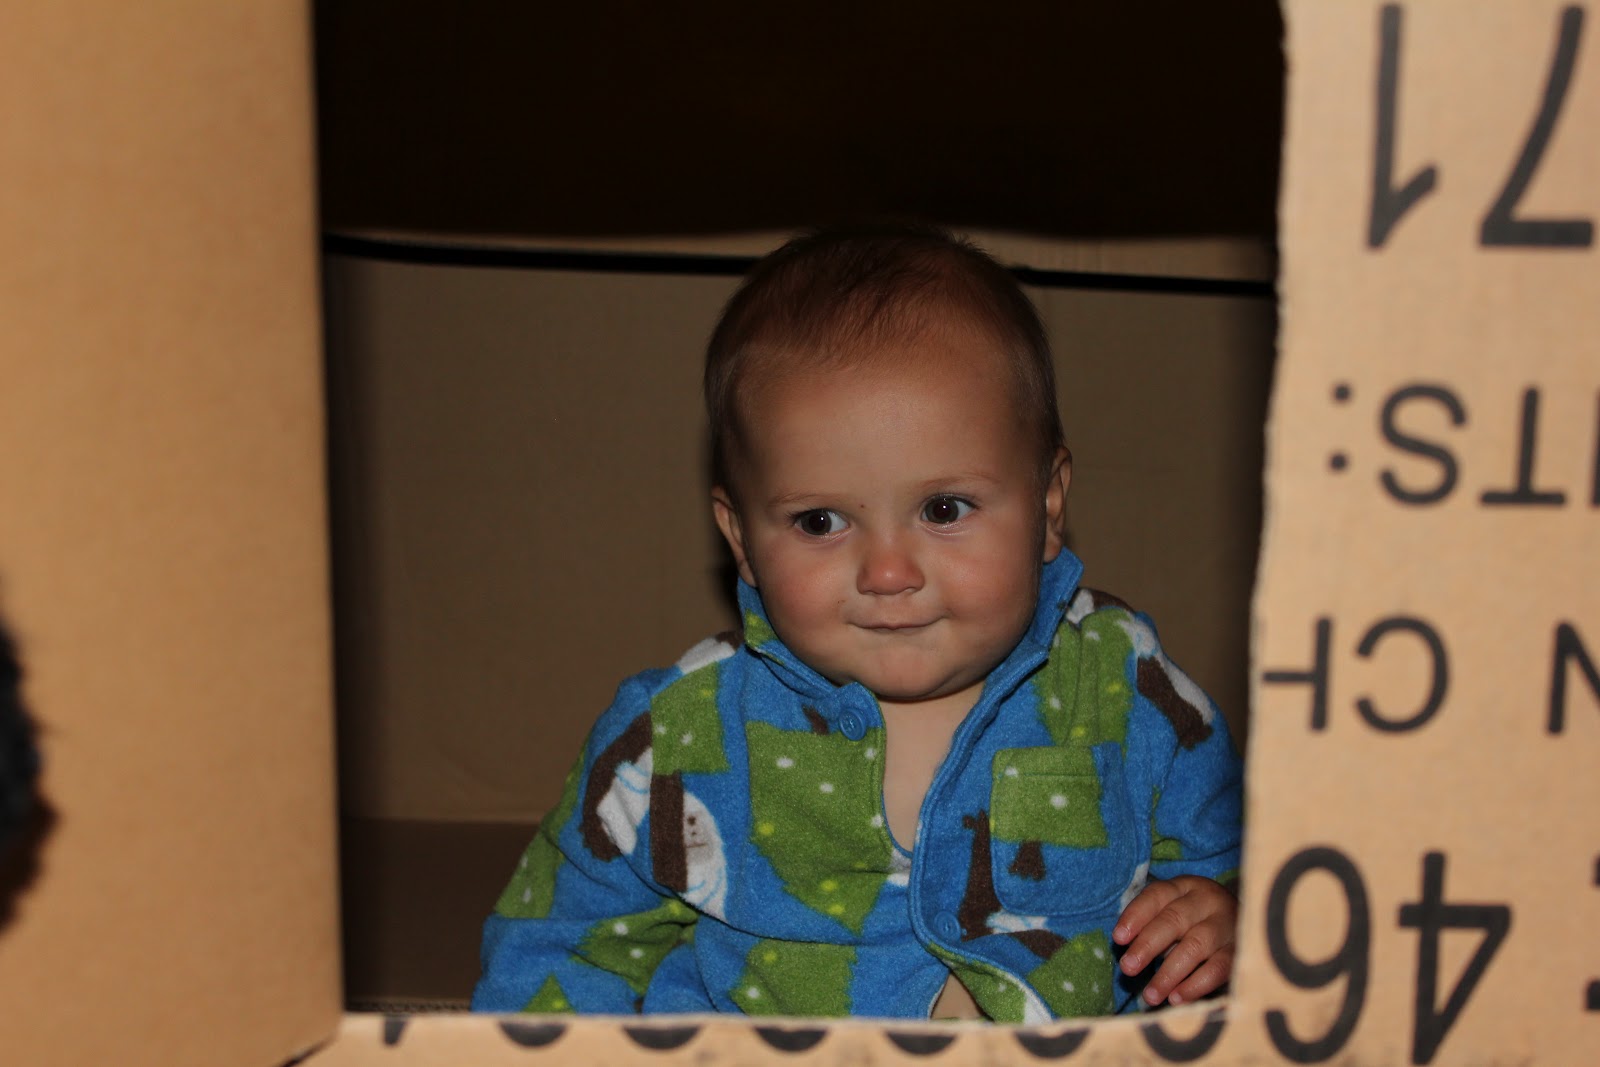
I made A CAVE OF STARS a few days ago for my youngest (8 months).  We've been having so much fun with this box since.  We started a little game of peek-a-boo with me closing and opening the door on her.  She loved loved loved this.  So..... it led me to this....

The Peek-A-Boo Box


All you need is a big box and something to cut the little doors.  I just used a kitchen knife.  This is one side of the box.  These doors are all over the box in different sizes.  


My older girls loved this as well!  Here she is with my 29M old playing.  I found it to be a great way for them to really play and interact with her.  :-) 


Smart baby!  :-P  


It was hard to capture pictures of this since my camera had to be at a certain angle to shoot through the hole.  Here she is anticipating what hole we will surprise her in next.  


We also used animals as well as instruments to make different sounds. 

"There is the cow!  You're touching his nose.  That must feel soft and fuzzy."  


She loved the holes closer to the ground she could peer out herself.

RL 

Tuesday, July 26, 2011

Drop Box

My youngest (17M) loves to dump and pour and is taking a big interest in her shape sorting toys.  Recently, at the playground she's been putting rocks and sticks down the holes of the platforms.  I started off by putting an aluminum grill pan over her "dump box".  She had a lot of fun just sticking stuff through the holes.  However, the holes were a bit small... it was hard to find certain things that would fit, and she was becoming frustrated.  I decided to make mine own version.

Materials:

Cardboard box
Razor blade
Objects to put in holes
Some creativity!  

THIS IS HOW I DID IT.  There are so many options and possibilities to explore.  For a sturdier piece you can use a piece of wood and drill holes, you can use paint, markers, letters, shapes, big holes, small holes, etc. etc. etc.  

For the objects I used colored matchsticks, foam shapes, different color pony beads, colored pasta, and black rocks that I painted letters onto (Walmart $3.00).  I set this up for both my 17M old AND my 2 year old.  I wanted to make it fun and interesting for both of them.  I made small holes both plain and some with color around them.  Different shapes (triangle, square, circle, rectangle, and diamond).  Letter holes and number holes.  I did NOT force letters, numbers, shapes etc. on to them.  They explored at their own free will.  :-)  

The invitation


As I knew she would... she went right for the stones.  She quickly learned that rock was too big for that hole.


Does it fit?


It was also fun banging the rocks together and making music.  :-)  


Where did it go?


She LOVED this!


My oldest woke up from her nap.  She surprised me by going straight for the rocks as well.  She chose to place them over the colored squares and count them.  


Also interested in where everything was going.  


I had not mentioned anything about the letters on the rocks.  It wasn't until later that night when she
 first discovered them.  "Mommy, there is a C on this rock!" 


Then she realized there were letters on the box, too.  She is definitely more focused when she is by herself.  


 "This one is too big, maybe it will fit up here in the rectangle"  


I plan on adding more of the black stone element.  I wanted to paint the lowercase letters on the backside of the uppercase letters but didn't have time.  I also bought a bag of gemstones and x-large rocks.  They have a nice assortment at Walmart for only 3.00 for a decent size bag.  

RL  


Thursday, July 14, 2011

Playroom turned Village

What to do with lots of big boxes??  I offered my oldest a few different choices.  She chose a village.....

We started off with a "food stand".  We have a local farmer that has a stand set up around the corner from our house.  We've been going there a lot lately.  She loves role playing our in and out, day to day activities.  


We then needed a post office to mail Nonny and Poppy some letters.  


 I knew this one was coming.  I was shocked that she didn't want to create it first...  Her beloved Doctor's office.  If you haven't already seen our post on this one, come check it out.  :-)

Doctor's Office

We have a sick patient back there!


Hospital beds


She is lucky little sister is such a great patient!  


For this one I asked my youngest (16M) what she would like to make.  She said "pool".  She was probably thinking I was asking her what she wanted to do... but we made a pool none the less.  :-)  

Oldest jumping off into the "water".


 Swimming like a frog


Hmmmmm, should I do it?


Tuesday, June 21, 2011

A CAVE OF STARS

There are soooooo many things to do with an empty box, the options are almost endless.  We happened to have a huge one and it went from a house, to a cave, to a cave of stars.  Its a simple concept, really - but oh so fun!!!

All you need is a box, a paint brush, a knife, and a strand of Christmas lights.  I used the knife to initially cut out windows (per my son's request)....but somewhere along the path of bats and spiders and the dark,  he decided it was a cave and it needed stars.  I took a paint brush (the size of the ones you get with watercolors - you could also use a screwdriver), and poked holes in the top of the box.  Then I pushed the Christmas lights through, and we had STARS!!  We gazed up at the stars together, talking about their colors and about real stars - and even read books in our "cave of stars".  It was a wonderful adventure!!  

- AK


Cave of stars

Daddy likes it, too


- AK (MESE, MECD)