Monday, July 18, 2011

Mostly Veggie Meatloaf

Addi & I love to cook together, and I like to cook healthy dishes I know (or hope) she will enjoy eating. Here is a recipe for a healthy, veggie-packed, 1-dish meal that's fun for little helpers & tasty for young & older taste buds alike!

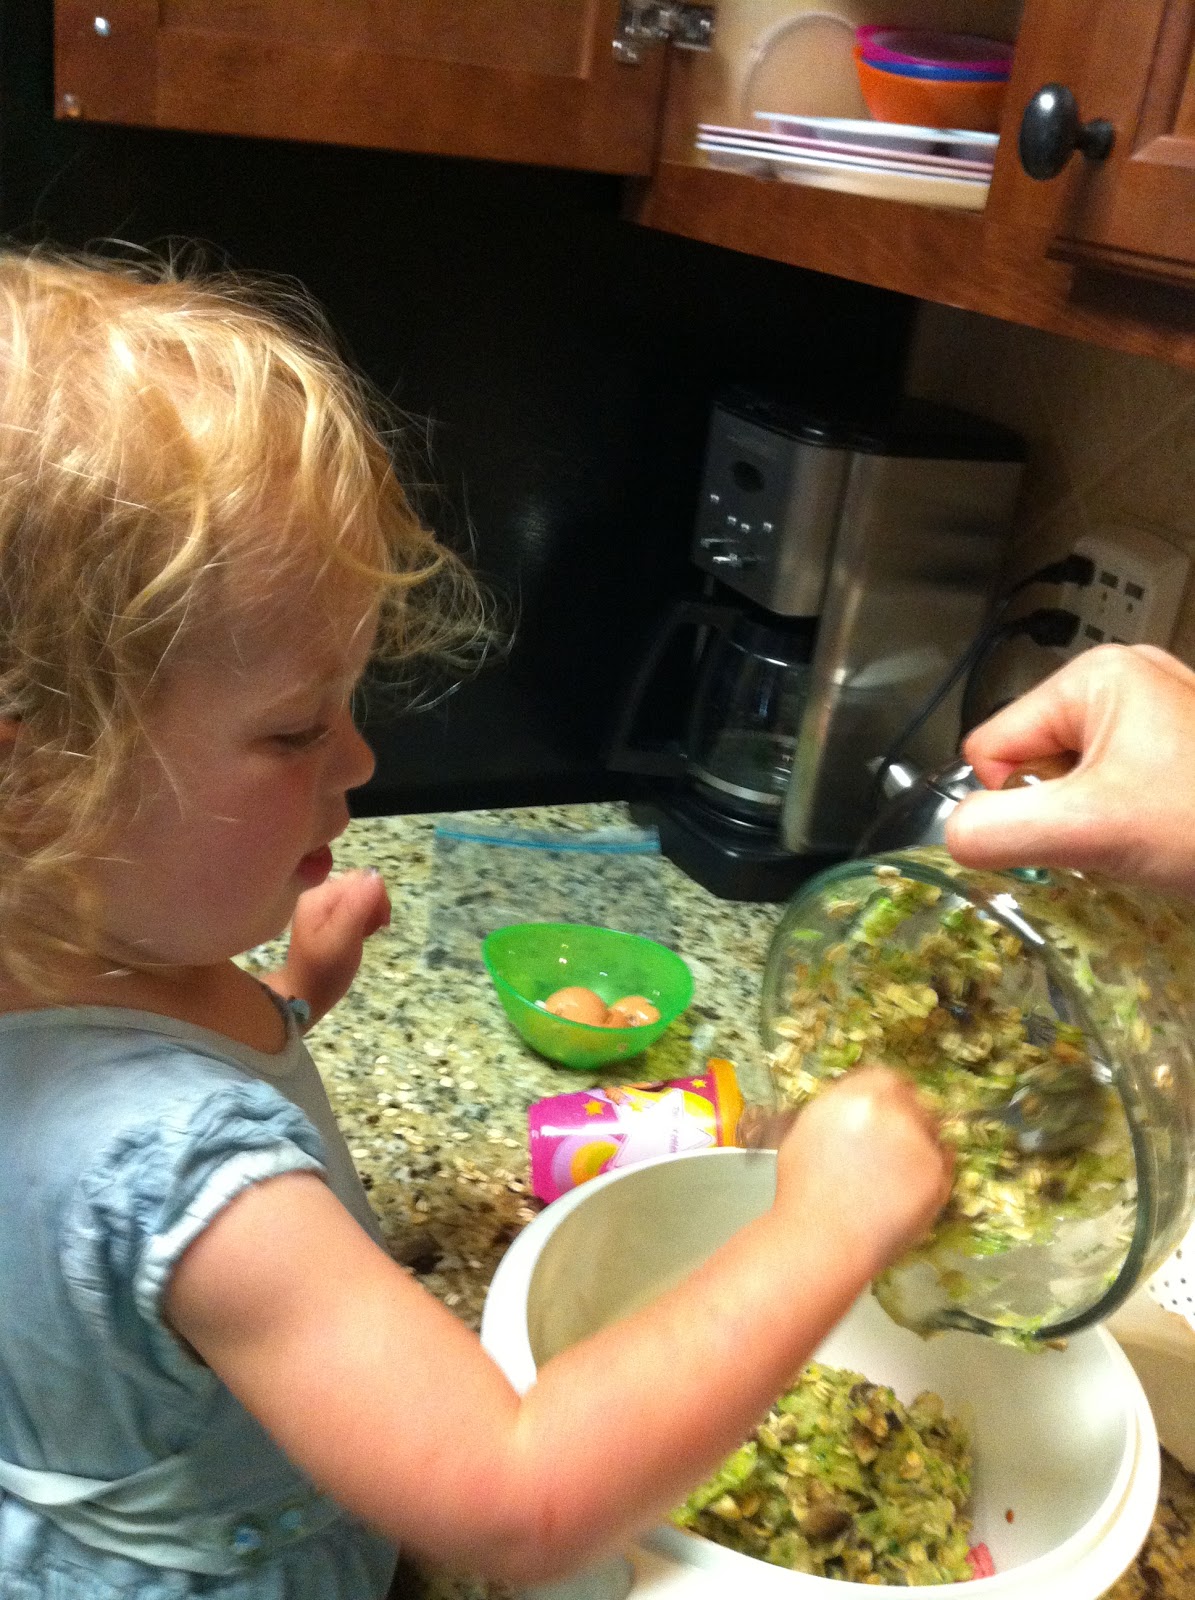
Addi washed the veggies and helped stir the tomato sauce (sorry, no pics), then I grated the zucchini. Meanwhile, Addi prepared the eggs. Note: some kids are able to grate veggies, but my daughter has not shown much interest, especially once she sees there are eggs ready to break & stir!


Breaking 2 eggs
 
Ingredients

1 can (6oz) no-salt tomato paste
1/2 cup dry red wine (optional)
1/2 cup water
2 clove garlic, minced
1/2 tsp dried basil or 2 fresh basil leaves
1/2 tsp salt
16oz ground turkey
1 cup oatmeal (we used gluten-free)
2 eggs
2 cups zucchini, grated
1 cup chopped mushrooms


Oooops!

Directions

Preheat oven to 350*F


Caution: check the oven for objects before preheating! Our home is on the market and I've been known to stash stuff in there when there's no time to clean up and I have to leave. Unfortuantely I didn't discover this bowl and spoon until I went to put the food in to bake..ack! It was surprisingly easy to clean up...much easier than the lasagna my dear friend Cathy dumped in our oven one time!


Adding 1 cup oatmeal


In a small sauce pan combine first 7 ingredients (tomato paste through salt). Bring to a boil then let simmer for 15 minutes, stirring occasionally.

In a separate bowl combine next 5 ingredients (turkey through mushrooms) & 1/2 cup of the tomato mixture. Mix well.


Adding 1 cup mushrooms


Adding veggies to turkey


Shape into loaves & place into an ungreased loaf pan. My loaf pans are packed away, so I just used tinfoil in a long glass pan.

Note: some parents will definitely let their kids combine the meat & veggies into a loaf, but I chose to do that part myself...I'm a bit squeamish about touching raw meat, so I haven't yet let Addi.

Bake 45 minutes.


Spreading tomato mixture over top

Discard drippings, then pour 1/2 of remaining tomato mixture over the top of the loaf.

Bake another 15 minutes.


Waiting "patiently" to eat


Then place on serving platter, cool for 10 minutes, slice & serve with remaining tomato sauce.


Concentrating

Delicious!


Note: Addi couldn't wait to eat until her Dad came home, but she had another full serving with him!

Learning through pictures

I take A LOT of pictures in this house!  They are a very important part of play for us...they are one of the best "toys" we have.

I come from a big family and they all live far away.  I keep a picture frame in the playroom with family and friends that are close to us.  If someone is coming to visit we point them out and talk about it ahead of time.  I always like to give them a visual. We use this frame a lot when they receive gifts as well.  I show them who gave it to them and usually tell them a little story about how we know them etc.  


I make a lot of story books for big adventures that we have.  Here is a recent one I made from our trip to NY.  Both my daughters love these books.  The conversations that go on while flipping through these are wonderful.  I got the photo album at the dollar store.  They could look at these all day!  They are also great for car trips. 


Emotional Intelligence and feelings....  I made these picture cards for my youngest and we use them probably every day.  I did this for my oldest as well and she loved them.  It is a laminated 5 x 7 picture with velcro tape on the back.  We have them up on the felt board here.  Some of the emotions/feelings we are woking on right now.
Top picture - More mommy time  
Middle left - Loving
Middle middle - Sad/angry  
Middle right - More daddy time  
Bottom left - Happy/excited  
Bottom middle - Tired/Sleepy  
Bottom right - Hungry!  (LOL)

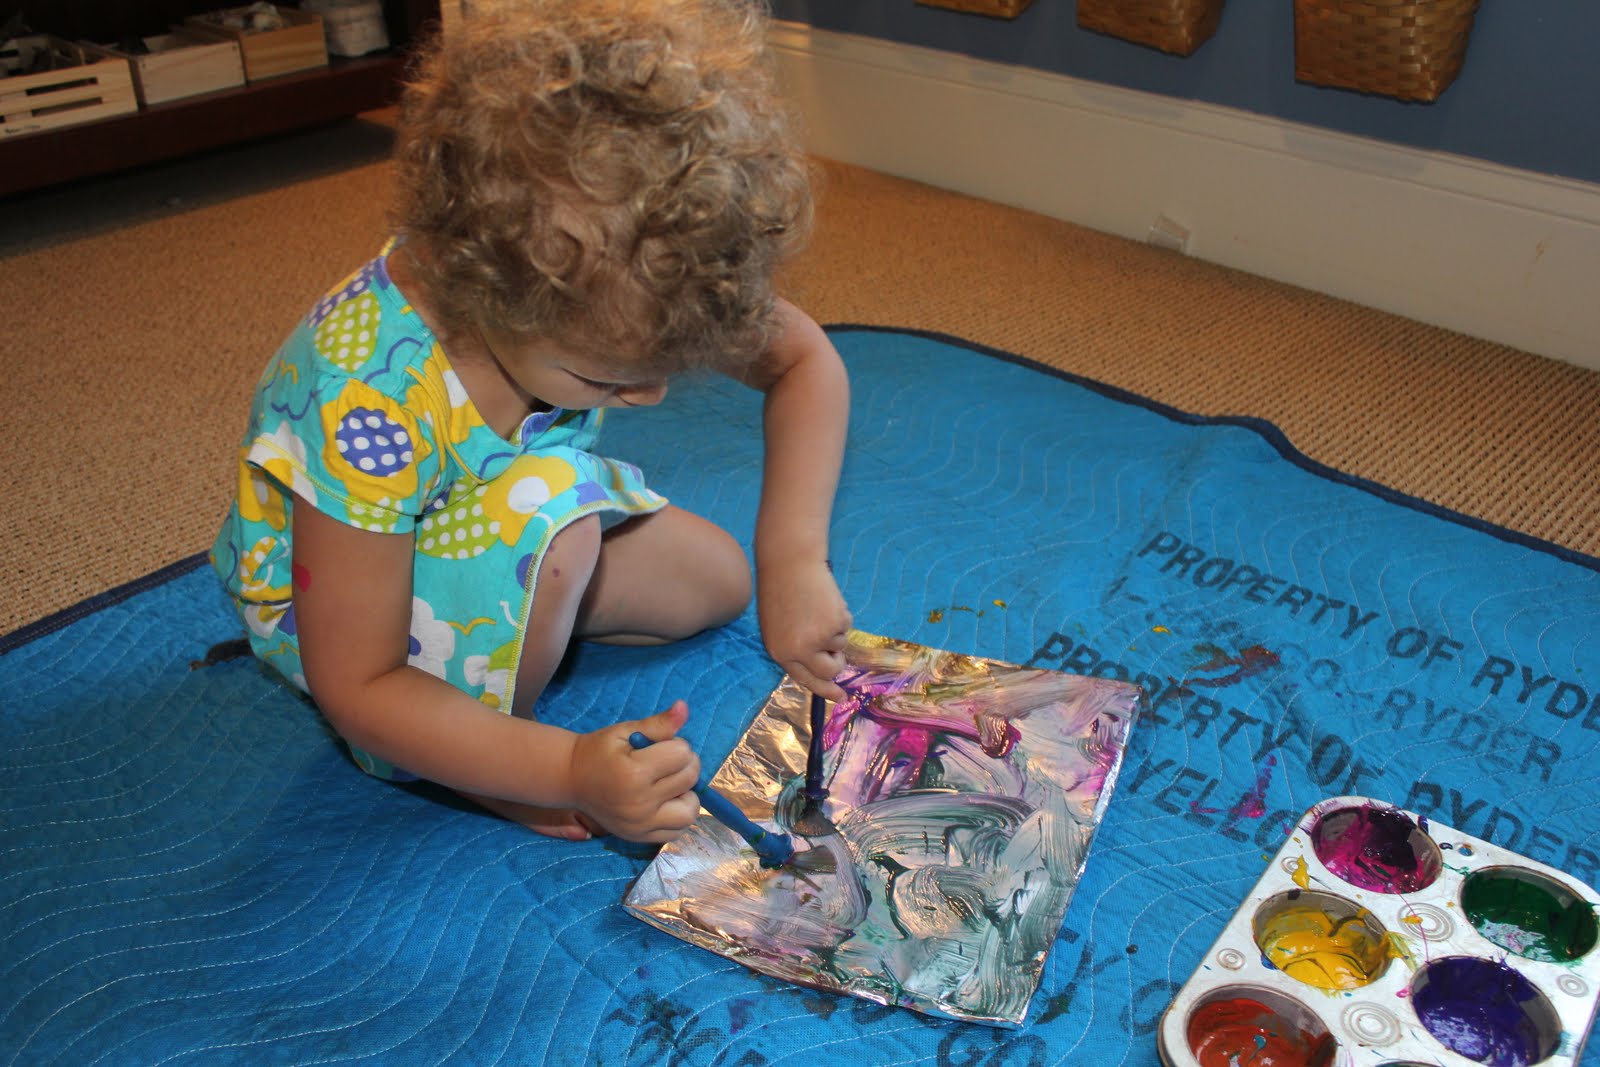
Tin Foil Painting

You can use whatever type of paint you want on this.  We used Shiny Paint... Tempera paint with a little bit of dish soap.  

I wrapped the tin foil around a piece of cardboard and let them paint away!


After they were done painting I offered them a Q-tip.  This is great for making designs, shapes, letter recognition, etc.  


They also did a little finger painting with them.  


These dried wonderfully.  A little bit of shine and texture to them.  This one is hanging up on our playroom wall.  :-)  


RL 

Sunday, July 17, 2011

Microwave Puffy Paint

MICROWAVE PUFFY PAINT

  • 4 Tbsp self rising flour
  • a few drops of food coloring or liquid watercolors
  • 4 Tbsp salt
Add water to make a smooth paste. 

OR

  • 1/2 cup flour
  • 2 tsp baking powder
  • 2 tsp salt
  • food coloring
Add water to make a smooth paste.  

Paint on cut-out cardboard squares.  After you have created your design, microwave on high for 10 - 30 seconds until the paint puffs and it's all nice and dry.  We did ours for 30 seconds.


Glow sticks.... thinking outside the box

I purchased these glow sticks at the dollar store.  Bracelets come in a pack of five.  You can also get some at Michaels Craft Store in a pack of 15 for a buck!  If you store the glow sticks in the freezer after using them, they will last several nights.   

Glow xylophone

Fill water up at various levels and place glow bracelet inside.  


Glow stick xylophone


THE AURA IS JUST A CAMERA EFFECT!!!!!!


Glow Bath

Twlight Turtle


Letter Recognition


Fun with Pictures


Glowing balloons.  Place glow stick inside of balloon.  


For the post on this please click below.


Glowing Hopscotch


RL 

Homemade Geoboard

Materials:

Peg board (Size is up to you.  We used a leftover piece we had on hand).
Nuts and bolts (We used 32 x 1" and they seemed to fit perfectly).
Rubber bands 

The piece of peg board we had was white in color.  If you have a piece that is brown or another color I suggest painting it white.  My daughter is using rubber bands here, however, I plan on giving my 16M old a go at this with some soft hair ties.  I also skipped every other hole when putting the bolts in.  


Saturday, July 16, 2011

SENSORY BALLOONS

Materials

Pack of balloons (Dollar Tree)
Various fillers: Rice, corn kernels, flour, flour and water mixture, water beads, sugar, lentils, cous cous, water, hair gel, bird seed, etc. etc. 

Fill balloons using a funnel and something to push it down into the ballon.  For the liquids we used a ketchup squirt bottle, and for the dry materials we used a funnel and straw.  You don't have to fill them up very much.  


A great sensory experience and so many options for play!

"What are theeeeeessssseeeee Mommy!?  Can we sort them?"  We started off with sorting the different colors.  


She was extremely curious as to what was inside.  "Do they have water beads in them?  Maybe it's pasta?"  


I filled a total of 12 balloons.  
3 yellow balloons and 3 blue balloons contained sugar, cous cous, and water.
3 pink balloons, and 3 orange balloons contained flour, hair gel, and lentils.


 I wanted her to be able to match what was inside. I only started with 3 in each color because I wasn't sure on how well she would do with them.  I did not want her to become frustrated.  It was fairly easy for her to match up, so next time I will add a couple more for each color. 


"I found a match!  That feels like water is inside." 


My 16M old loved squeezing these.  Fun!  


"I found another match!  What is in there, Mommy?" 


Making patterns


"Can we do that again?"  


Something I will do different next time....  My oldest really wanted to know what was inside.  She is a very visual person.  Next time I will take a small sample of what is inside each balloon and put them in clear cups.  This will allow her to match what she actually sees to what is hidden in the balloon.  

RL