 We've moved. Please click here to view our new blog.
We love working with tissue paper. It is something that both girls enjoy... along with mommy. I know a lot of you have kids that are different ages. These projects are GREAT for every age... even adults! Here are some of our favorites.
White tissue paper cut-outs and prints.
I think my daughter was 15 months in this picture. She LOVES this activity. These are liquid water colors in a bingo dabber bottle.

Creating prints on white paper

I laminated a couple and saved them.

Suncatchers
There are a couple different ways to do these. In the picture below we used wax paper and liquid starch. I find the liquid starch gives a more glossy appearance. Paint on liquid starch, apply tissue paper, apply a second coat of liquid starch and let dry. Another way to do this is by placing tissue paper on clear contact paper.


To make some fun designs you can cut out shapes from two pieces of black construction paper, place your tissue paper suncatcher between the paper, and glue everything together. The one below was done with melted crayon between wax paper but tissue paper would work just as well.


Tissue paper watercolors.
We used watercolor paper but I'm sure any paper would work. Place torn up tissue paper on your paper and spray with water. It doesn't get any easier than that! The more water you spray on, the more diluted your colors will be. Let the project completely dry then take off the tissue paper.
Placing tissue paper on

Spraying with water.

Sitting out to dry.

The next day... taking paper off. Simply beautiful. :-)

DIY light panel stories
You can make any stories and pictures you want. We created mouse paint here. I laminated a piece of tissue paper, traced on a design, and cut it out. The girls loved how the feet actually turned color when the tissue paper was placed on top of each other!

"Paper Mache" balloons
This is another great project. It does take patience... we would leave ours out for a couple days and the girls could work on it at their own pace. This would also be wonderful for a group project in a child care setting.
Blow up a balloon, apply liquid starch, place on tissue paper, apply second coat of liquid starch, repeat until you have 3 or 4 layers. You need about 3 or 4 layers to get a strong shell. After the balloon is dry cut a slit in the top and slowly let out the air. These are great for storing candy, treats, making pinatas, or just to hang up! I believe I saw this in a Martha Stewart Magazine a LONG time ago.
Applying tissue paper

I just leave the balloon on the shelf and the girls can work on it when they want.
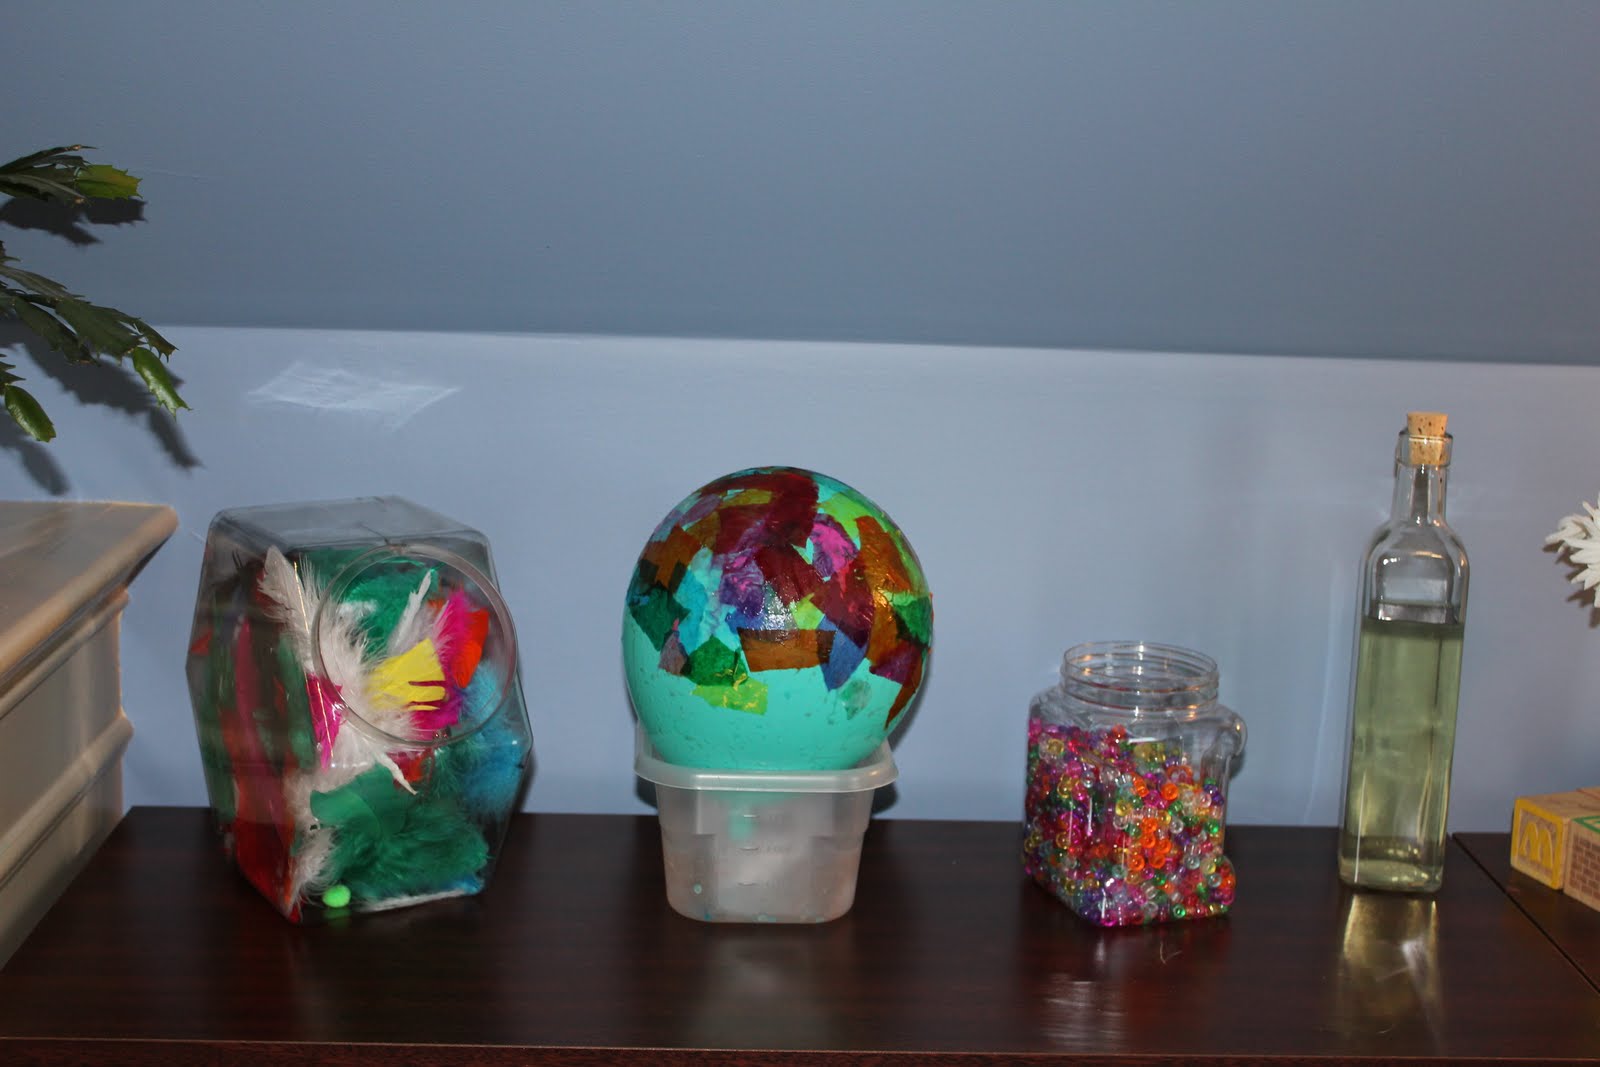
My 16M old loved contributing to this as well.

I will warn you... you are supposed to use just one color... or colors that blend well together. We just used whatever so the end result looked kinda dark after all the layers.

Candles
Baby food jar, tea light candle, tissue paper, mod podge or clear glue. I think you can even use liquid starch on this as well.
Apply glue to jar

Place on tissue paper

Let dry and add candle.

Tin foil art
Fold a piece of tin foil around a piece of cardboard. Apply tissue paper with glue (we watered ours down a bit so it was easier to apply).


Can also add some glitter. :-)

My 16M old loved tearing this apart more than creating! :-)

2 year old finished.

Last but not least....
Layering with tissue paper.
For this one we used long strips of tissue paper. Again, you want to try and use colors that blend well together.
Apply glue (we used modge podge)

Add strips


Let dry and cut off the overlapping edges. We use these a lot for homemade cards. I usually cut them into 4 squares. You can write on top of them with a black marker.

RL
I never knew tissue paper was so versatile!
ReplyDeletei love all of these ideas! i am especially intrigued by all of the play with the light tray. have you talked about where you got that? i googled it and have no idea where to start with looking for a good, indestructible one.
ReplyDeleteSo many great ideas!!! Looking forward to trying these with my boys! :)
ReplyDeleteI love all these fun and entertainibg ideas!!!
ReplyDeleteThnak U!
Andrea
Great ideas -will now save every little peice of tissue paper that comes our way! :D
ReplyDeletehello! i am absolutely loving your blog at the moment (been hooked for days!) and i have started collecting for my own busy boxes (the cutting one is my fave - cutting strings of beads was a taboo in my childhood! can't wait!)
ReplyDeletemy question is what on earth do you do with all of their creations?? do you ever throw them away? do you scrapbook them? or do they all end up as gifts? thankyou so much for this blog - it's an amazing gift to read!